In response to a current survey, 28 % of small companies don’t have an internet site. Moreover, many firms take months, even years, to get their websites up and operating. As a enterprise proprietor, that point is cash.
Due to this fact, on the subject of creating your web site, you don’t need to waste any time setting it up. Because of Native, you may create and publish a WordPress web site with ease. In just some clicks, you may have a fantastic and responsive web site that showcases your services and products to the world.
On this publish, we’ll take a more in-depth have a look at Native as an online improvement software. Then, we’ll present you the right way to use it to get your web site up and operating. Let’s get began!
An Introduction to Native by Flywheel
Native by Flywheel is a neighborhood improvement setting designed for WordPress customers:

It lets you create WordPress websites in your pc, with out the necessity for a dwell server. This implies which you can work in your website offline, and make modifications with out affecting the general public model of your website.
Native has some nice options, together with computerized set up, one-click admin, and MagicSync. Computerized set up implies that you don’t must manually arrange WordPress each time you need to create a brand new website. Moreover, the one-click admin function helps you to shortly create a WordPress administrator account so you can begin working in your website instantly.
In the meantime, MagicSync lets you mechanically sync your native website with a dwell server. This implies which you can make modifications to your native website after which push them dwell with just some clicks.
The best way to Get Your Website Up and Working Shortly With Native (In 5 Steps)
As we have now seen, you may create a website with Native and take a look at your content material earlier than making your modifications dwell. This fashion, you may ensure that the whole lot is working because it ought to earlier than launching what you are promoting website.
Let’s have a look at the right way to get your website up and operating in simply 5 straightforward steps.
Step 1: Set up Native and Create a New Website
First, you’ll must obtain Native in your pc. This system will ask you to pick out an working system:

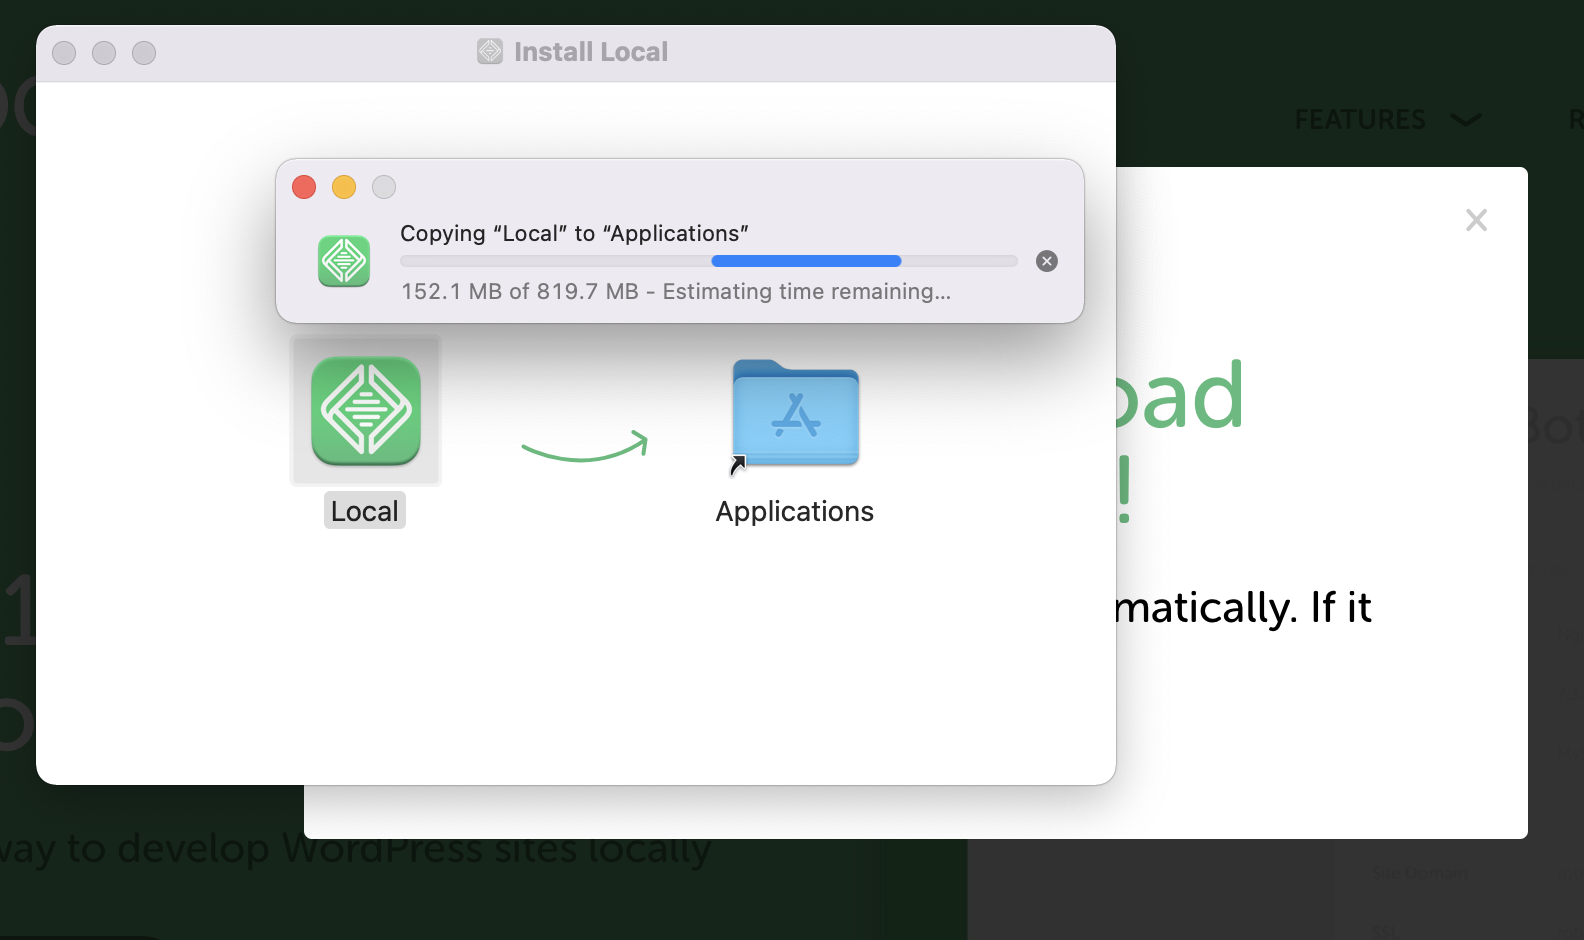
Then it’ll run the installer. When prompted, select a location for the set up:
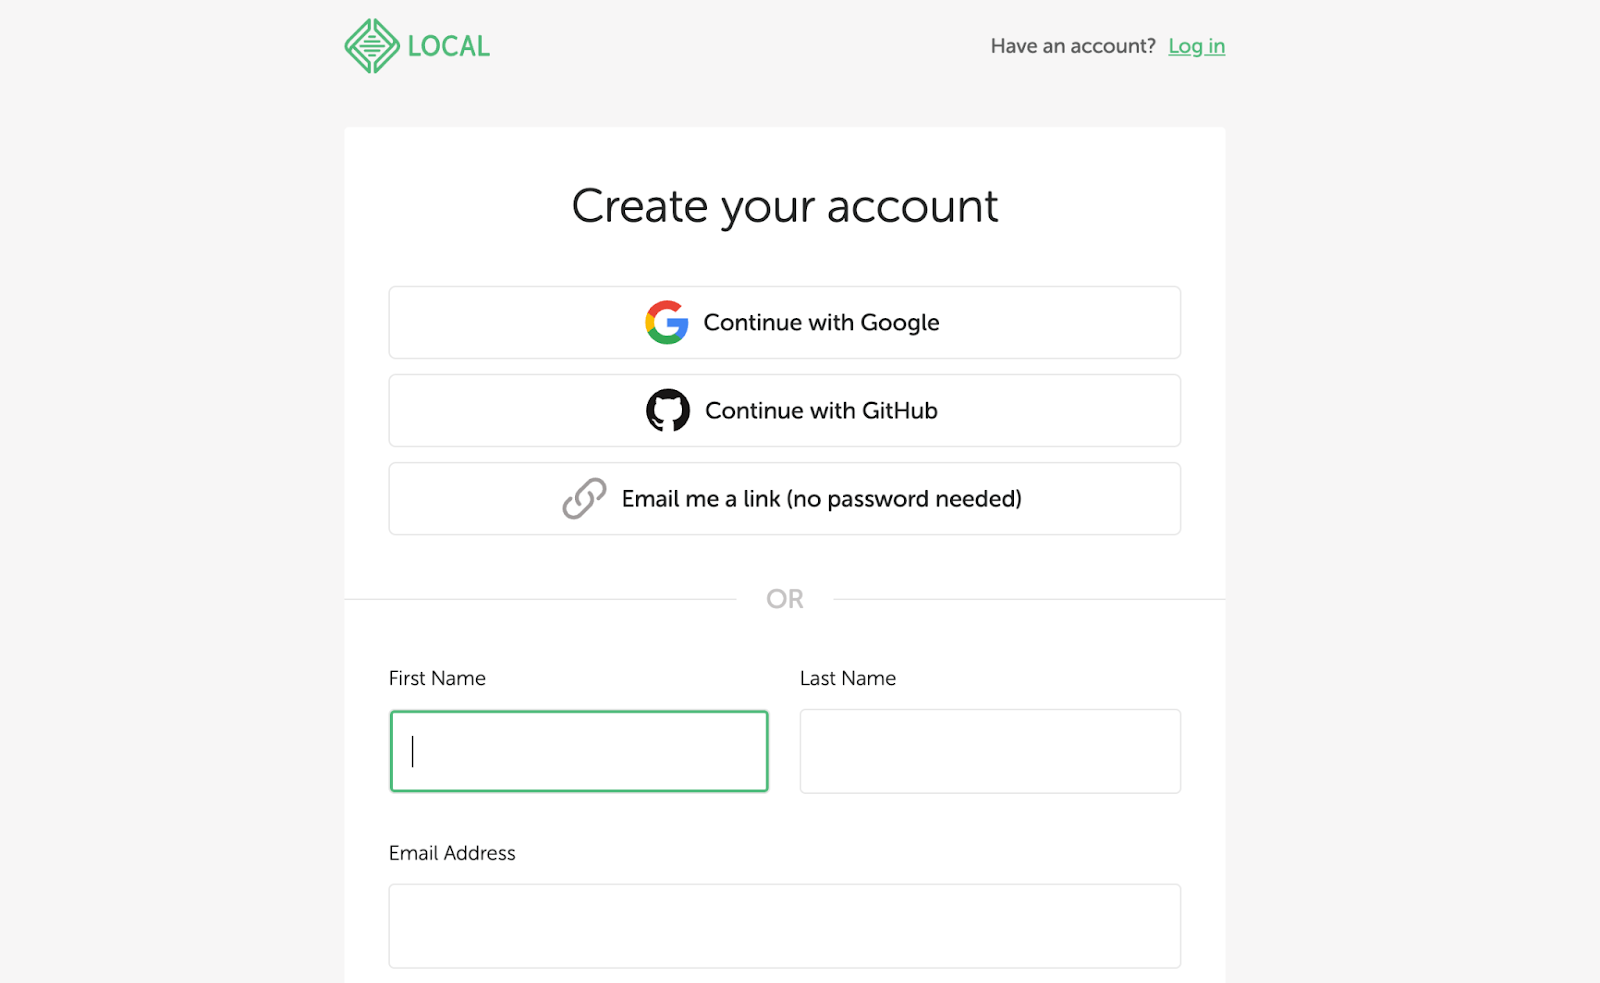
As soon as the set up is full, you may launch the software program and create a free account:
When you’ve arrange a Native account, you’ll be taken to the dashboard:
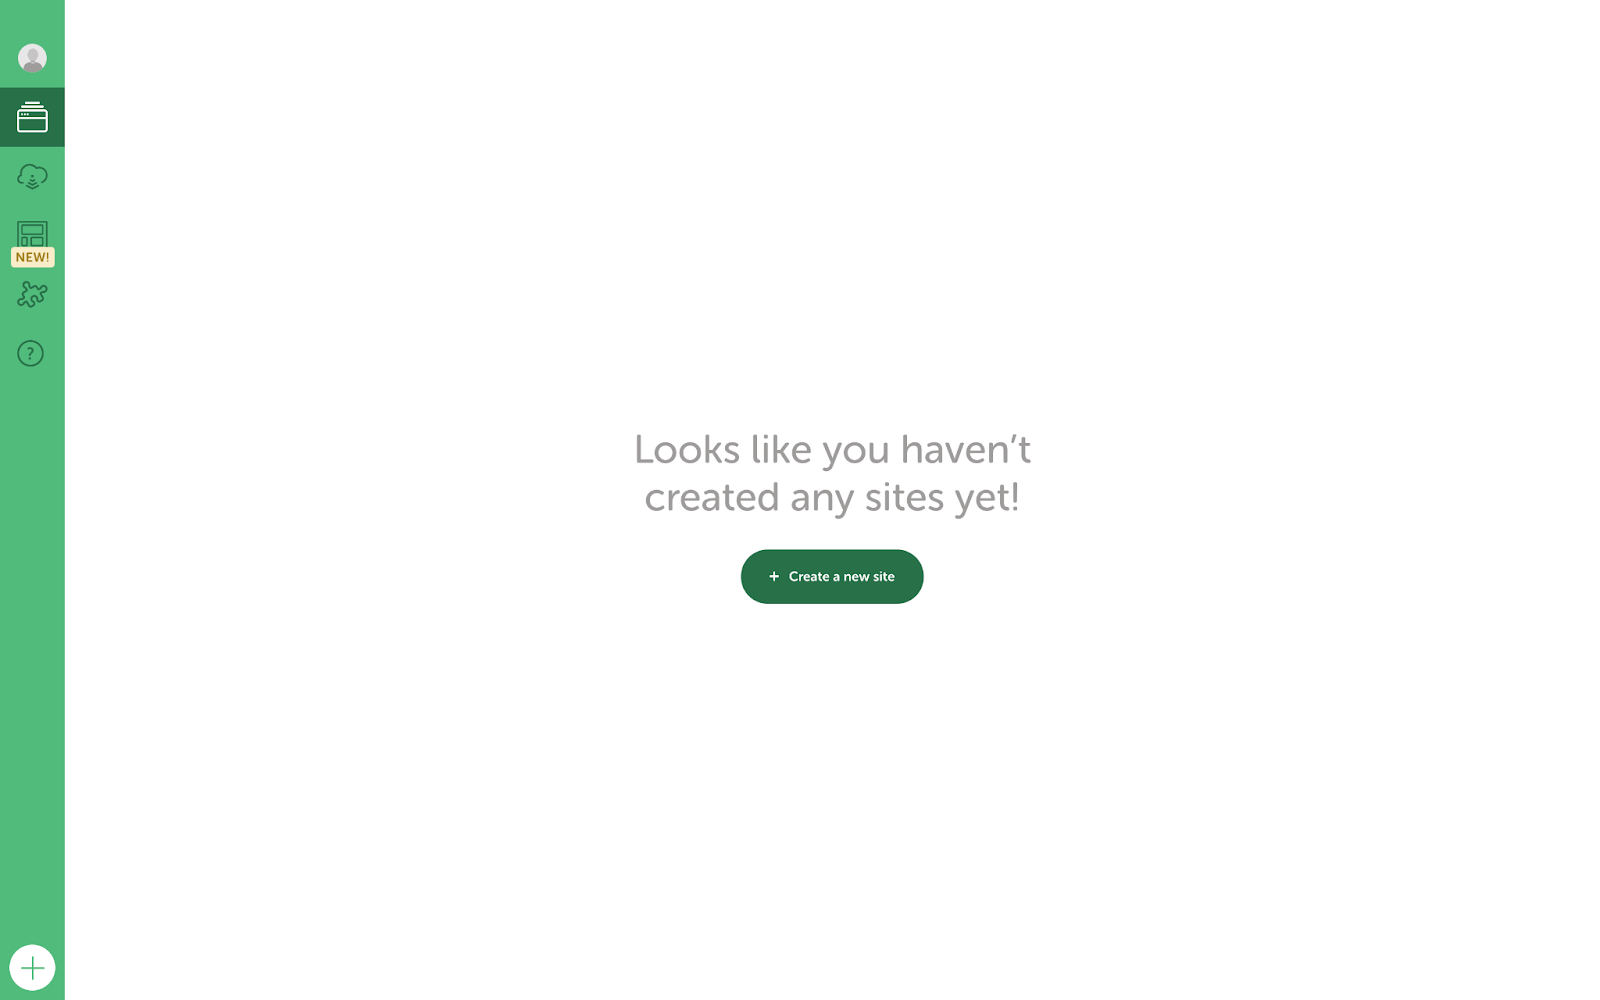
Right here, you’ll have the ability to entry any websites that you just arrange. To get began, click on on the Create a New Website button.
Step 2: Configure the Settings of Your Native Website
Subsequent, you’ll must configure the settings of your native website. First, you’ll need to give it a reputation:
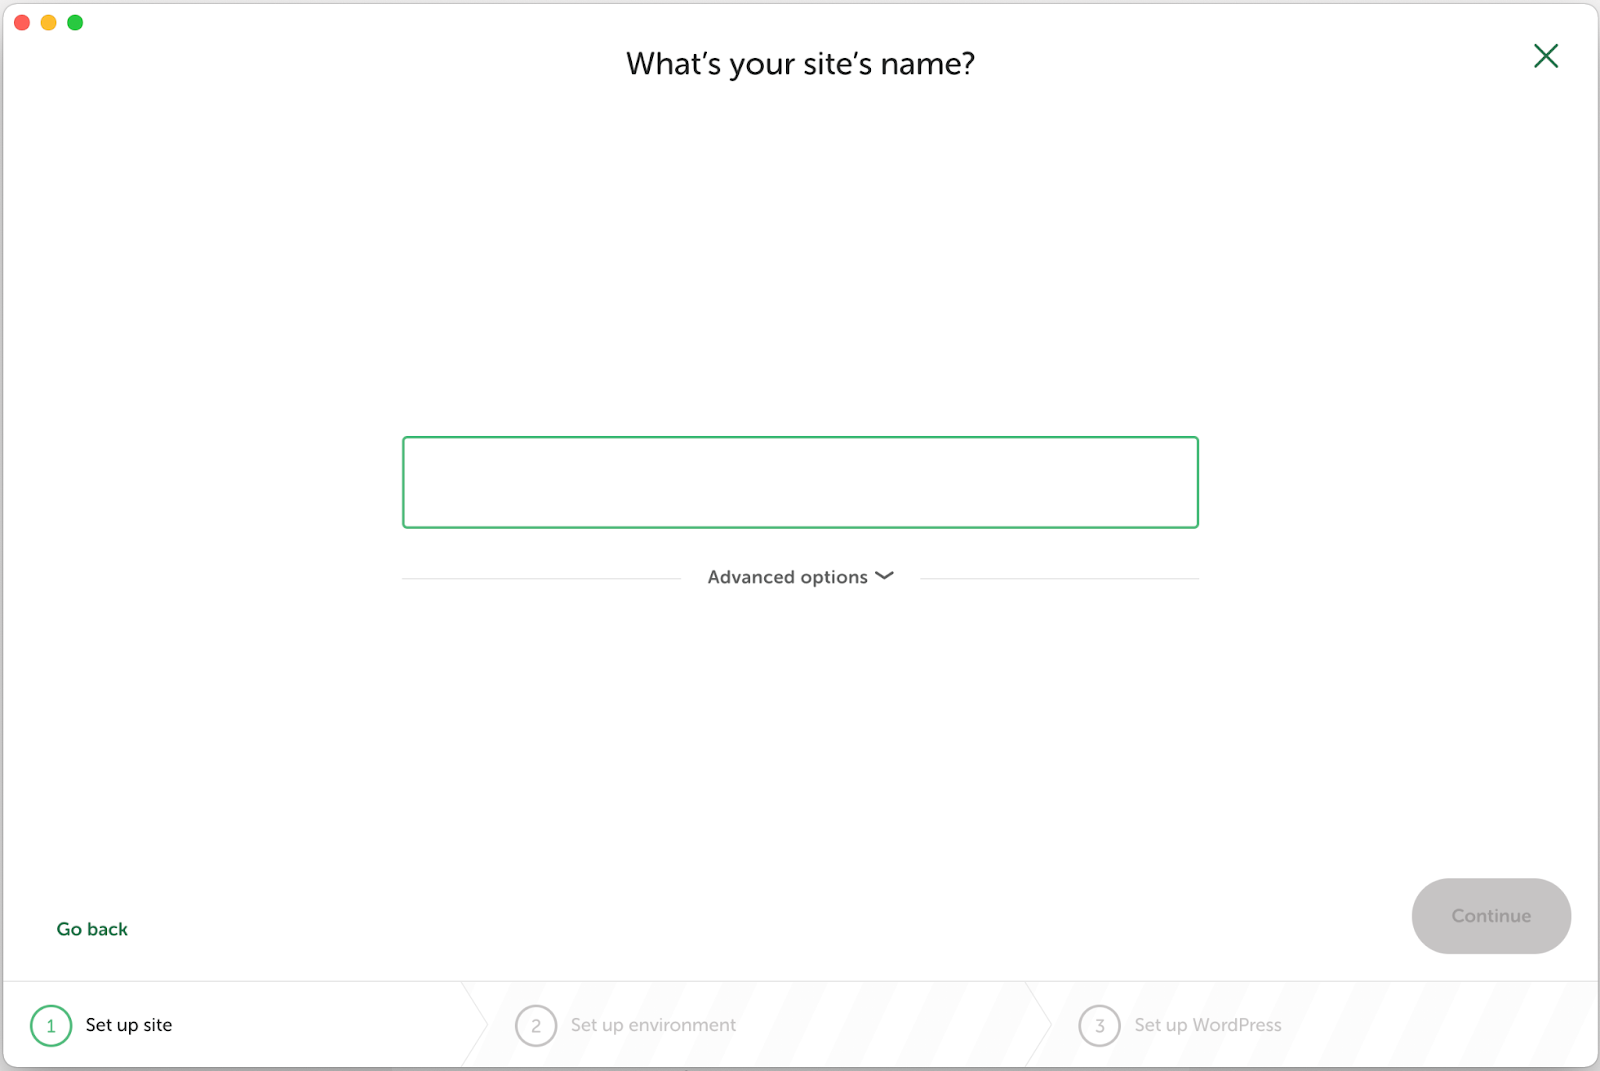
In case you click on on the Superior Choices hyperlink, you may modify your area and website path:

In case you navigate to the Website Data part, you may specify the URL to your website, and select whether or not or to not use HTTPS. Beneath Database Settings, you’ll want to pick out a reputation to your database, in addition to a username and password.
Within the WordPress Settings part, you may enter the username and password to your admin account. In case you depart these fields clean, Native will generate random login particulars for you. Once you’re prepared, click on on Proceed.
The following step is to arrange your improvement setting. Native presents two choices: Most popular or Customized:
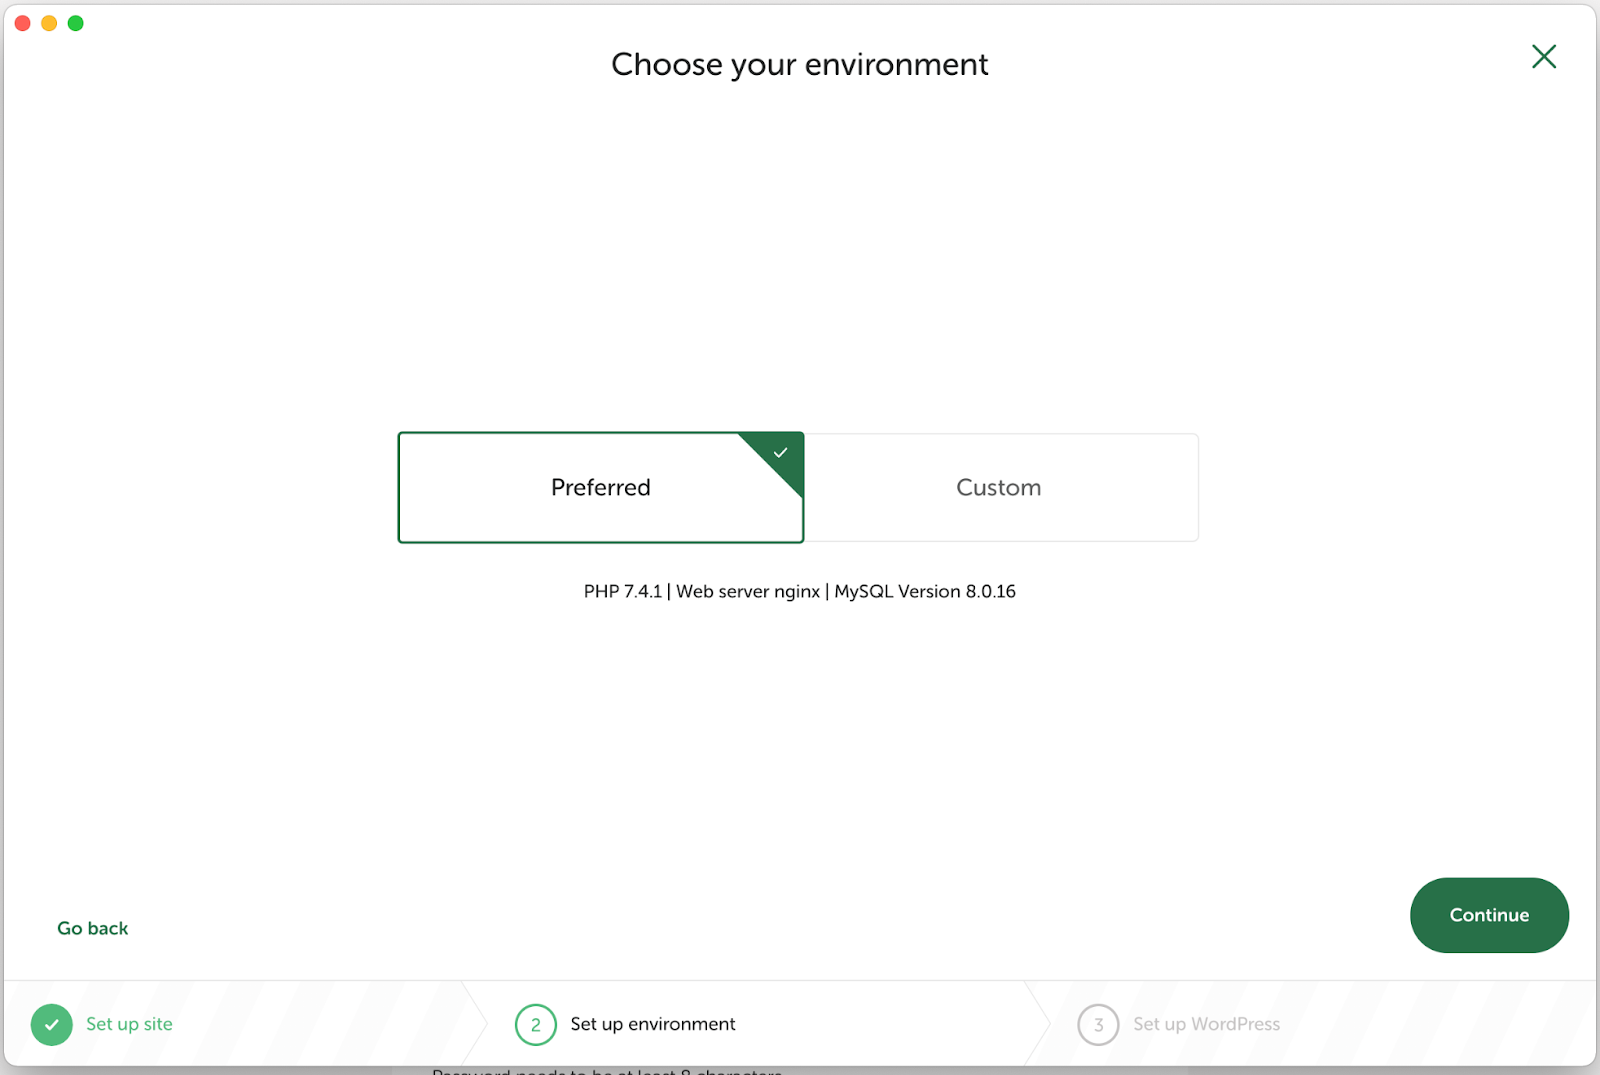
We advocate going with the primary possibility in case you’re a newbie. In case you select Customized, you may additional customise your setting by selecting a PHP model, net server, and extra.
Step 3: Set Up WordPress
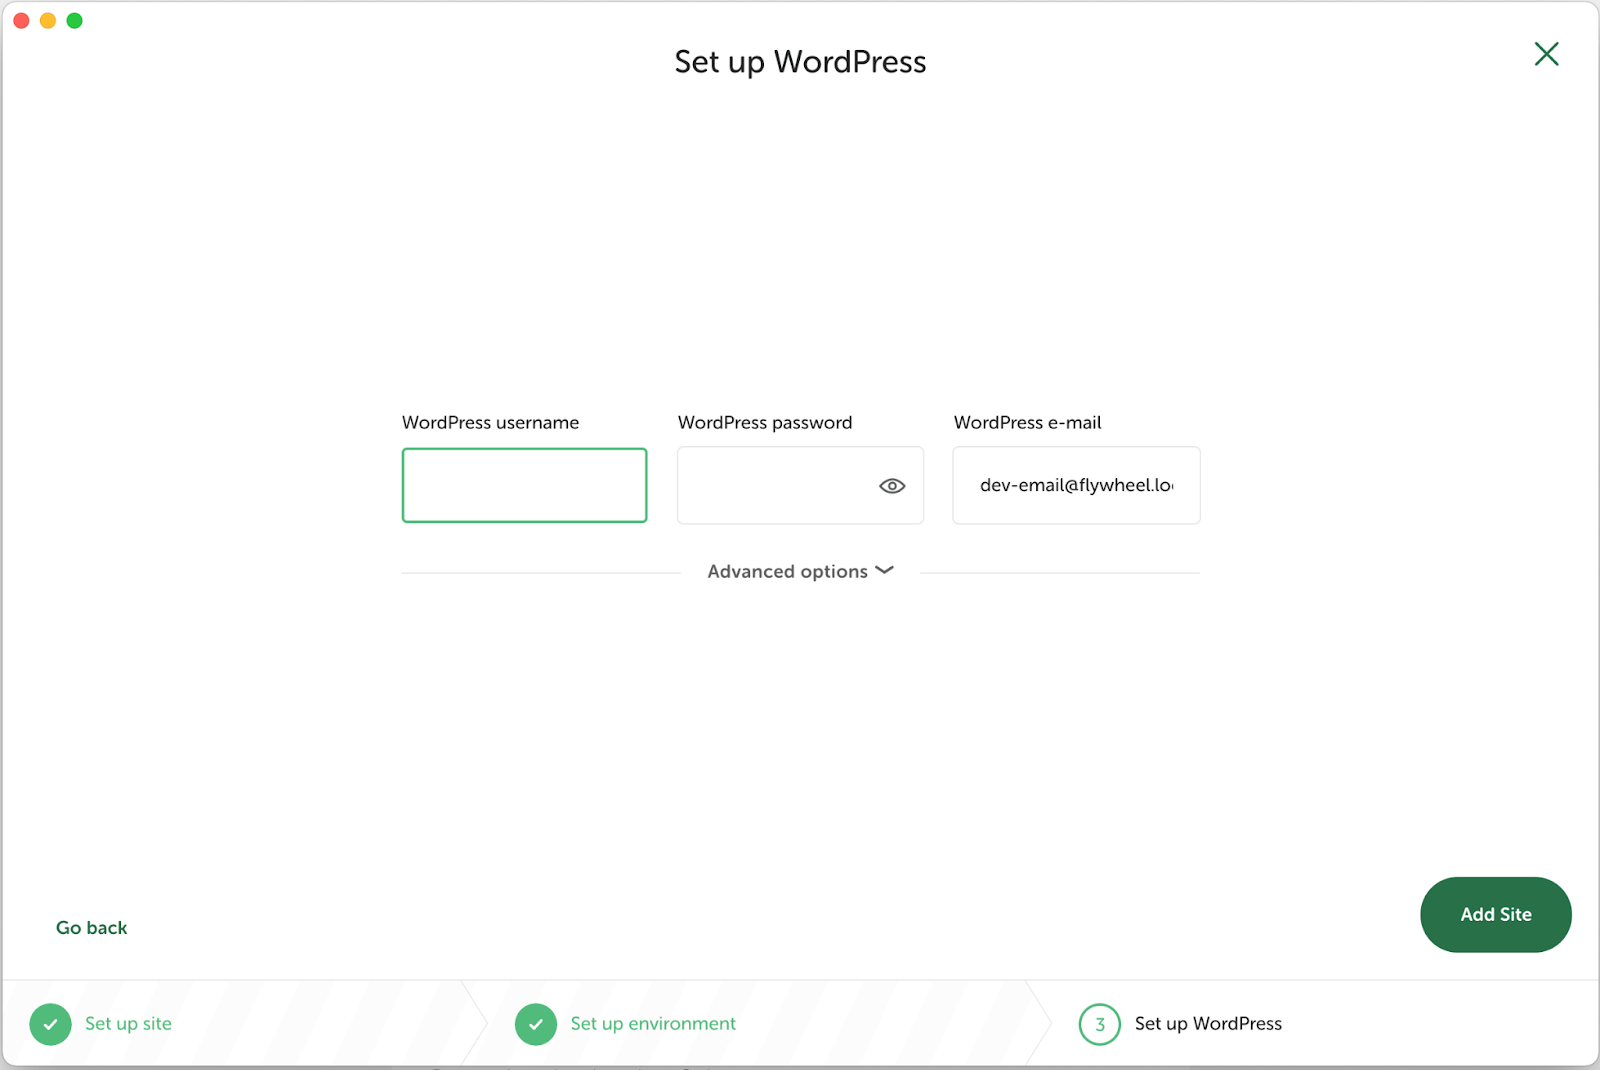
After selecting your setting, you’ll be prompted to connect with WordPress. This may be accomplished by merely getting into your WordPress login particulars, which you created within the earlier step:
Then, click on on the Add Website button and look forward to Native to generate your website. This may occasionally take a couple of minutes.
As soon as your website has been created, you’ll be taken to the Native Websites part in your dashboard:

Right here, you may view your website’s particulars. To entry your WordPress website, merely click on on the Open Website button.
Step 4: Customise Your WordPress Website
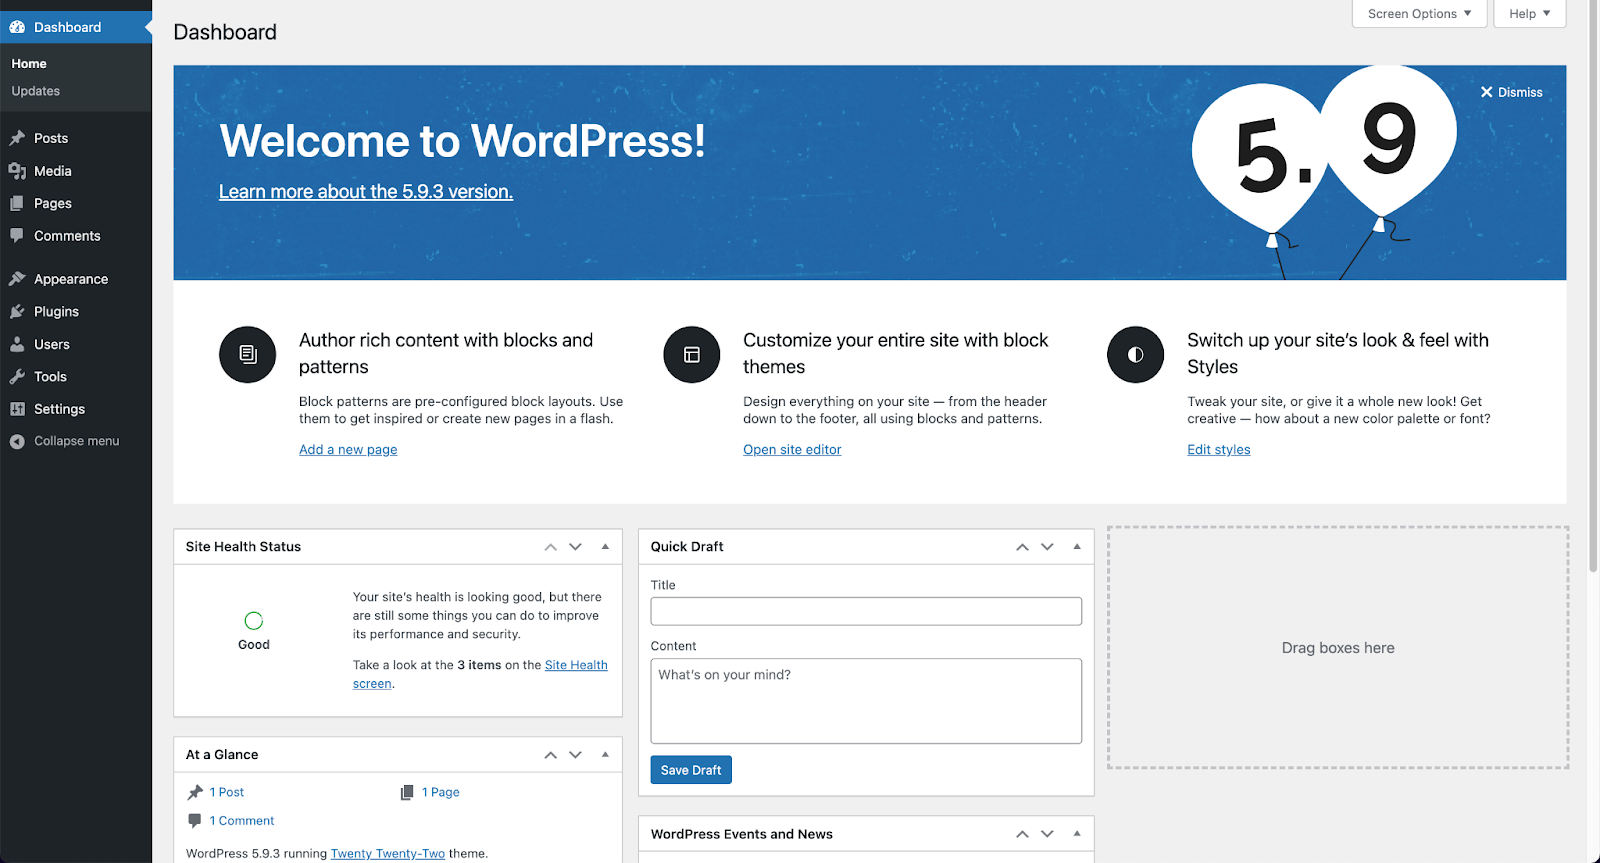
Now that you’ve WordPress put in, you may configure your website’s settings and preferences within the dashboard:
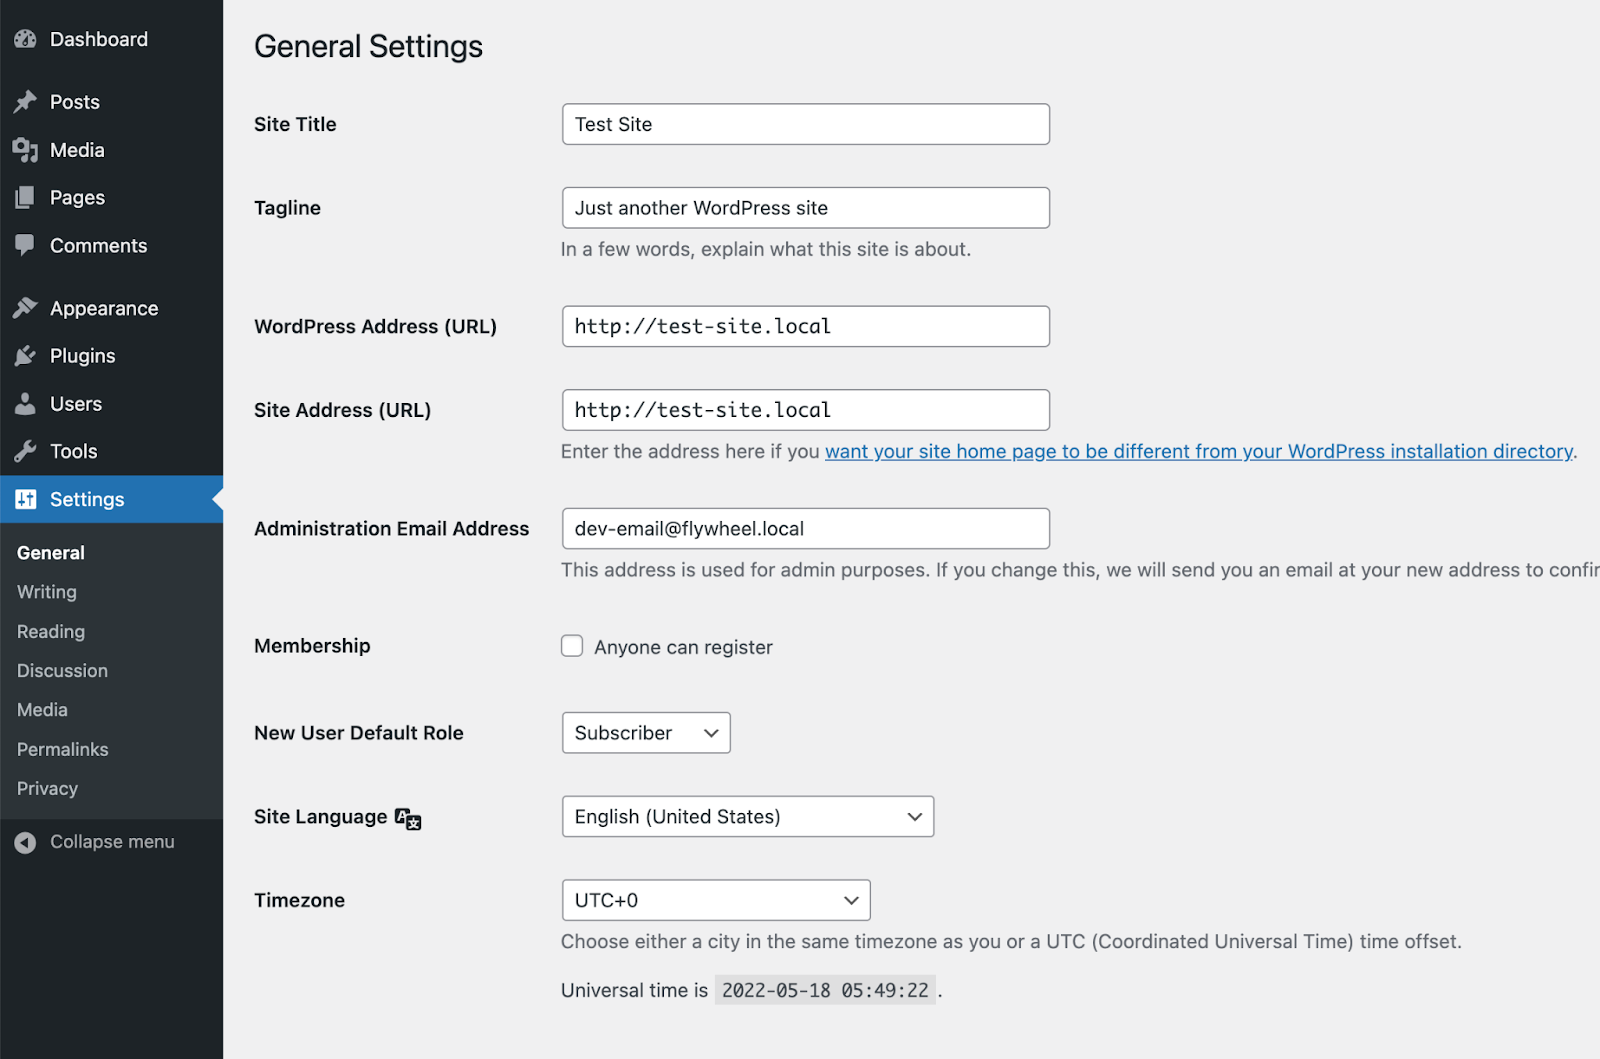
In case you navigate to Settings, you may change your website’s title, write a tagline, and extra:
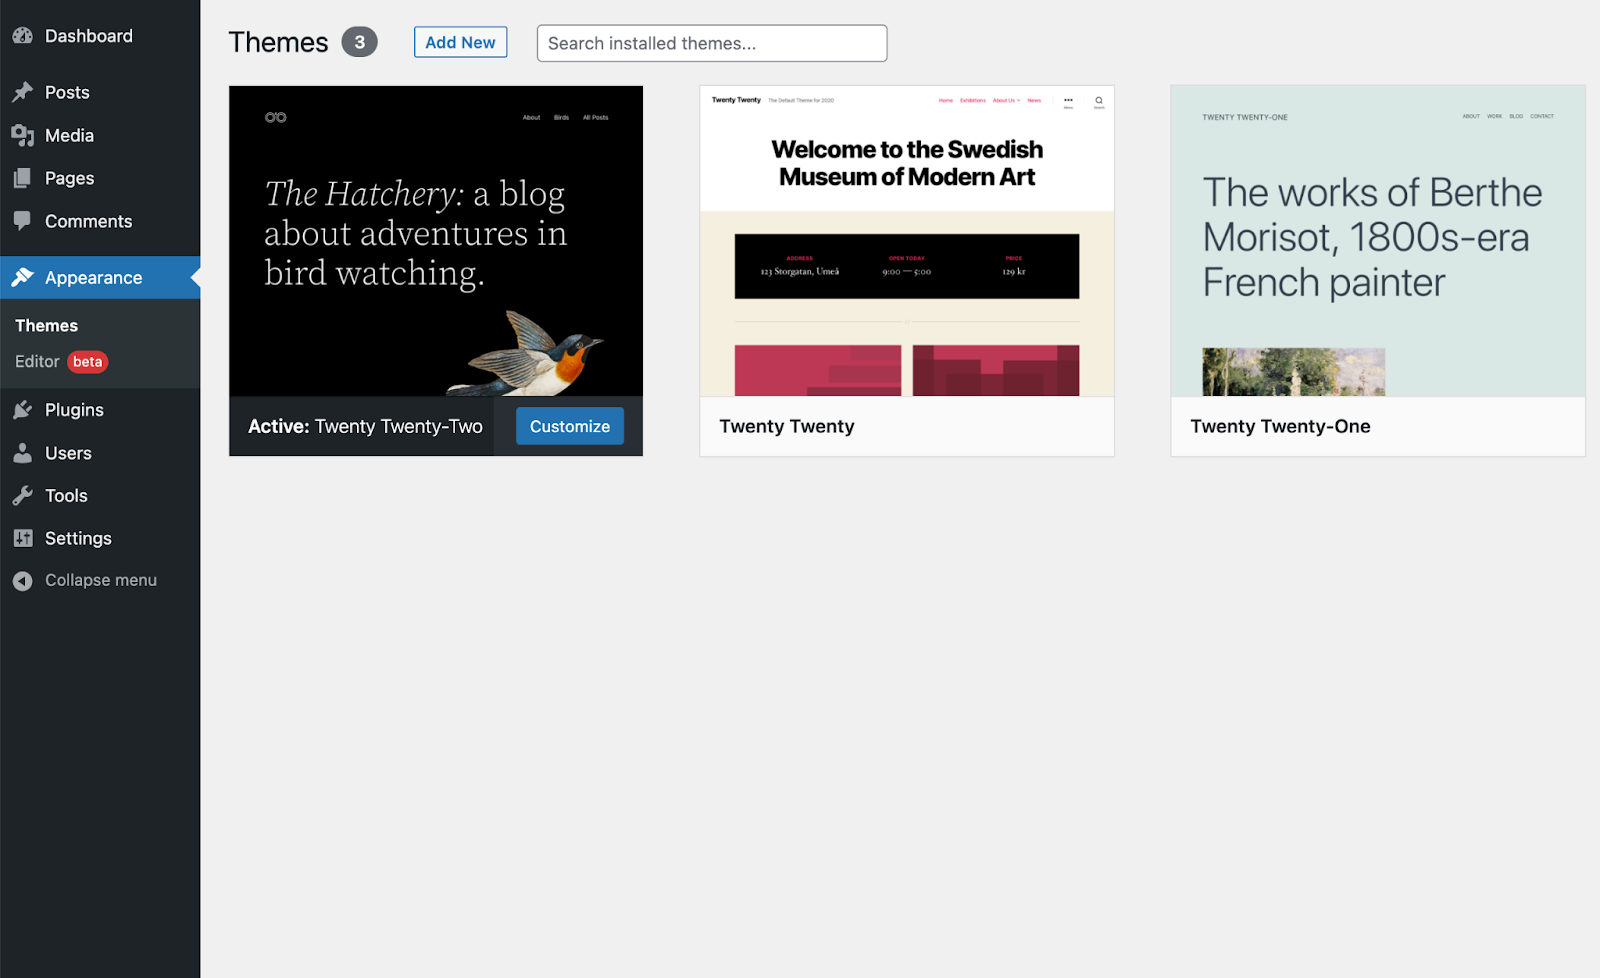
Apart from organising your website’s preferences, it’s also possible to customise its look. To do that, merely click on on the Look tab and choose a WordPress theme:
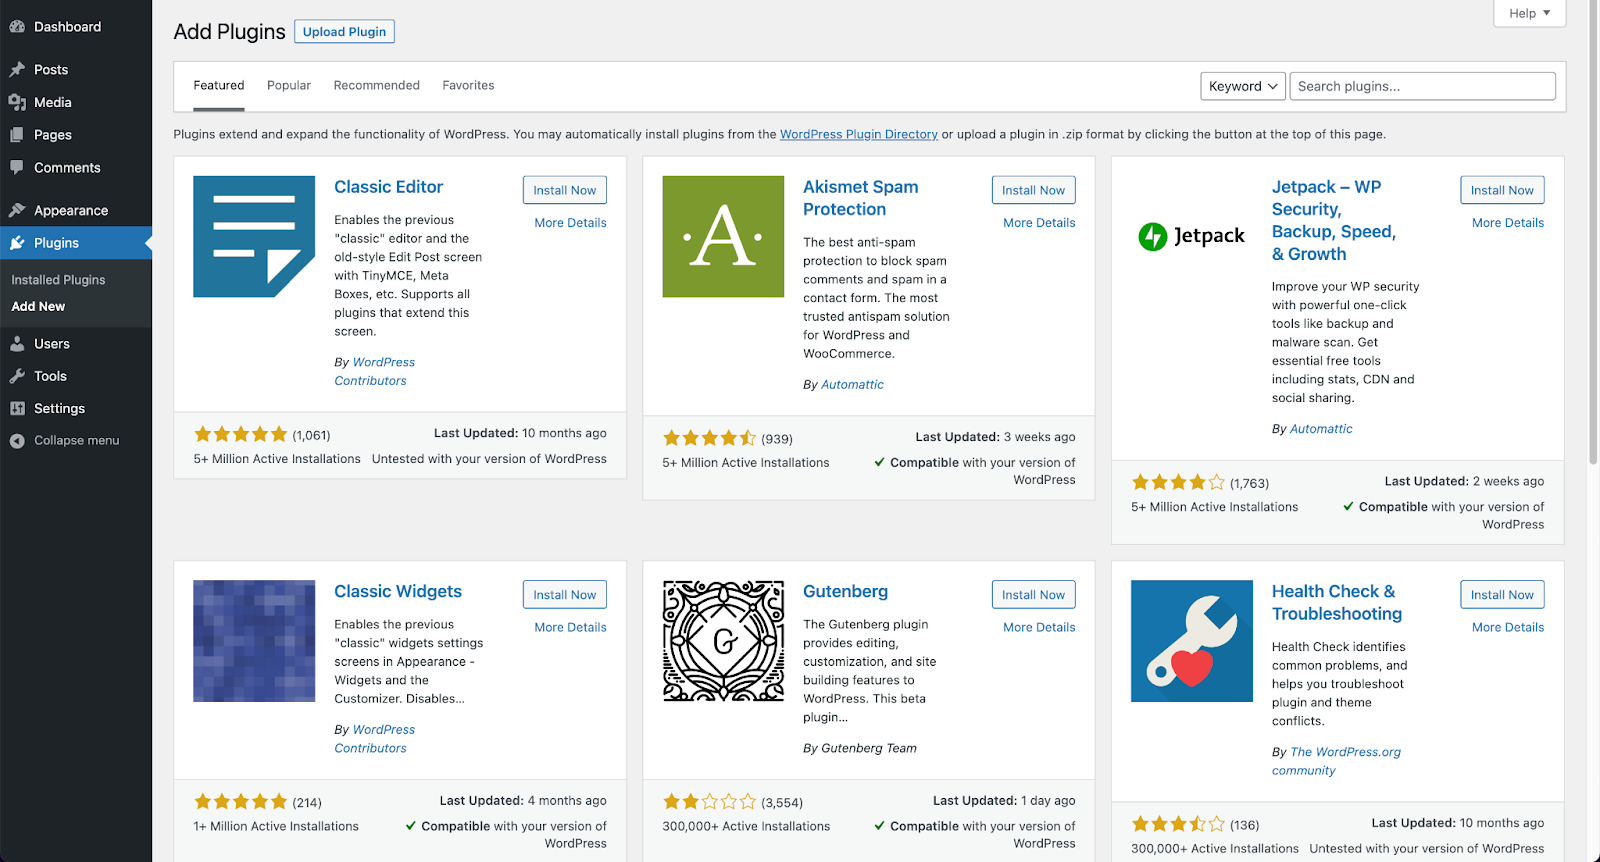
When you’ve chosen a theme, you can begin including plugins. These instruments add additional options to your website, similar to contact types and social media buttons. Merely click on on the Plugins tab, then choose Add New and seek for the software you need to set up:
When you’ve discovered a plugin you need to use, you’ll have the ability to set up and activate it. You possibly can then navigate to your plugin’s web page within the dashboard to configure its settings.
Step 5: Publish Your Website
Among the best issues about Native is that it makes it very straightforward to push your website dwell. In reality, it may be up and operating with just some clicks.
First, nevertheless, you’ll must buy internet hosting. You will discover a wide range of internet hosting plans for WordPress websites at suppliers like WP Engine and Flywheel.
Upon getting your internet hosting sorted out, log into your Native dashboard and navigate to the Join web page:

Then click on on the Connect with a Platform button, and choose both WP Engine or Flywheel, relying on which internet hosting plan you bought. You possibly can then log into your internet hosting account to publish your website.
That’s it – your website is now dwell! Any more, you may take a look at any modifications to your content material on Native earlier than publishing them to your public website.
Conclusion
Native by Flywheel is a improvement software that lets you create WordPress websites domestically. It presents an intuitive person interface and a spread of options that can assist you handle your content material extra effectively.
On this publish, we confirmed you the right way to create a website with Native and publish it in simply 5 straightforward steps:
- Set up Native and create a brand new website.
- Configure the settings of your native website.
- Arrange WordPress.
- Customise your WordPress website.
- Publish your website.
Do you could have any questions on organising an internet site with Native? Tell us within the feedback part beneath!
