
For those who’re a filmmaker and also you’d wish to know extra about modifying, notably color, then you definitely’ll love our free course, Tips on how to Color Grade Video. On this DaVinci Resolve tutorial, you’ll see examples of how one can use color grading to create a continuity of feeling.
Storytelling With Color Grading in DaVinci Resolve
Pure color reinforces story, however generally you want a stronger contact. Stylised color is a powerful cue on your viewers concerning the type of story they’re watching. Robust color grading can do loads to create the tone of a narrative and to assist the viewer droop disbelief, however it’s very simple to go too far. On this lesson, you may see some examples of stylised color grading plus a breakdown of precisely what goes into creating these.
The Steps to Stylised Color Grading
Completely different color correction software program will imply a distinct strategy and course of, however the ideas are just about the identical. This tutorial follows David Bode’s video lesson, with DaVinci Resolve.


That is DaVinci Resolve with a clip of some legs and ft, which shuffle alongside. Let’s think about you wished this to be a zombie. The colouring would wish a bit work to match that concept as a result of on the minute it’s effectively uncovered and color corrected, however it isn’t very stylised.
You might need inspiration in thoughts, like your favorite zombie films or TV reveals, and you might put collectively some reference photos to form precisely what you need. In case your inspiration was The Strolling Useless, for instance, then you definitely’d be trying to make this fairly gritty and saturated.


Right here’s the identical clip after colouring, and you may see the nodes on the precise—every of these has a stage of the grading. Right here’s what went into it.
Color Correction, Warming, Desaturation
The primary node (01) is simply the color correction, the second (04) has a bit warming, and the third (02) is desaturation, which is down by nearly half of what it was. Within the subsequent one (03), all the greenery was remoted with the Qualifier device. Right here’s what that appears like so you’ll be able to see it higher:


Because of this solely the greens can be affected, with every thing else excluded, after which the hue was pushed up in the direction of yellow, which may be very delicate however makes a distinction within the combine. It’s to present it a glance that is browner and a bit lifeless, somewhat than these contemporary spring greens which don’t actually match with the stylised look.
Distinction


Within the subsequent node (05), there’s a little bit of a mid-tone bump to the distinction—readability—with the mid-tone element on the backside which supplies it a bit extra perceived sharpness, plus a number of different changes like bumping the highlights.
Vignette


Lastly, the final node (06) is a vignette to attract your eye to the center of the body.
This color grade isn’t tremendous stylised, however it’s positively stylised; the colors are being closely desaturated and every thing has a brown, heat tone to it that works fairly effectively.
One other Instance of Storytelling With Color
Desaturation and Hue Adjustment


This clip has some troopers strolling, and within the first node (03) it’s the same factor to what you noticed within the ‘zombie’ clip, choosing the greens and pulling out a lot of the saturation whereas pushing it to extra of a beige color.
Temperature Change and Desaturation


The subsequent node (04 – circled) is warming issues up a bit, and the one subsequent to it (02) is a world desaturating. The greens have already been desaturated a bit, however that is engaged on the general saturation.
Distinction and Readability


Node 05 is giving every thing a bit little bit of a mid-tone crunch, plus it is also being warmed up a contact and the highlights bumped to present it some extra punch.
Vignette


Lastly, node 06 is one other vignette to create a nice-looking ‘warfare’ look: desaturated, with numerous brown tones and so forth.
Day to Evening
For the final instance, we’ll have a look at what goes into making a night-time look on footage that was shot in the course of the day. It may be an actual problem relying on what the footage is.


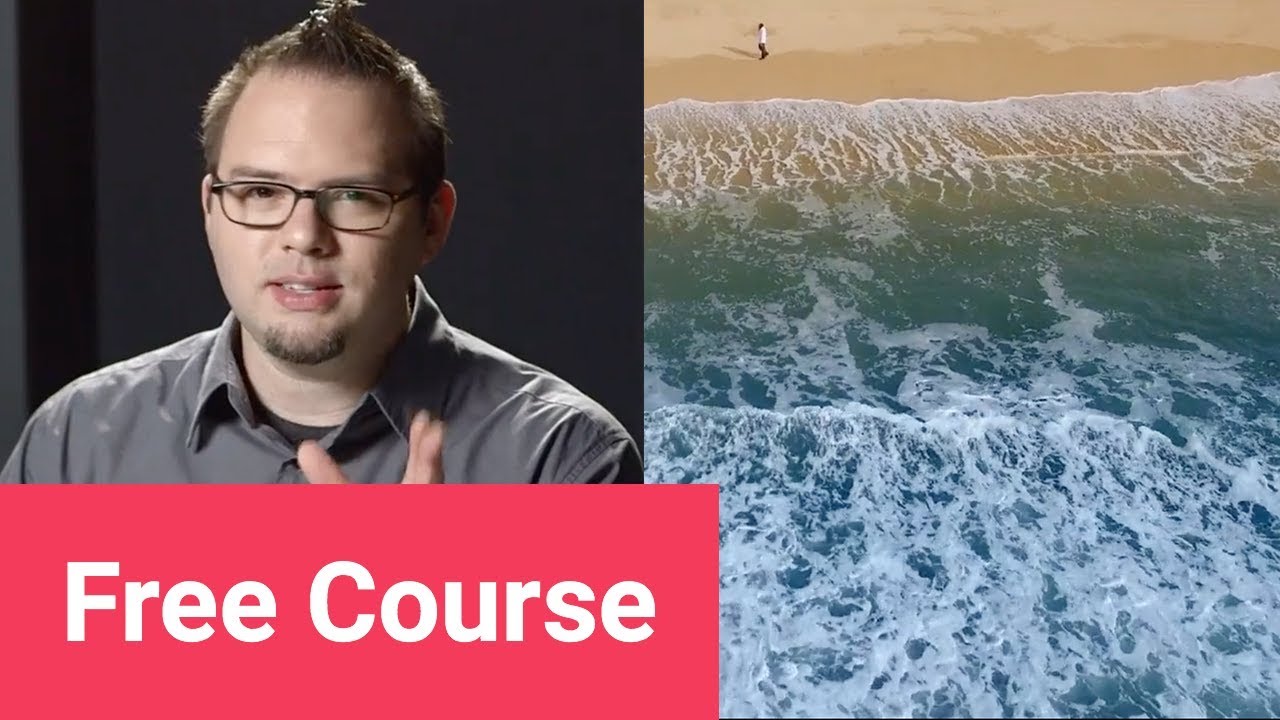
Right here’s a seashore scene shot with a drone in the course of the day. Within the first node (02), there’s a bit desaturation, and within the subsequent (03), there’s some discount of distinction.
Making It Evening…


The third node (04 – circled) is the place you’ll see the obvious correction. Utilizing curves reduces a lot of the luminance out of the shot.


The final correction means you’ll be able to’t actually see as a lot, and there’s a personality on the seashore who can be solely misplaced on this, so the subsequent node (05) is giving a bit bump of sunshine simply to him. It’s fairly delicate, in any other case it might look as if he was spotlit, however it’s simply sufficient to present him some consideration.


Within the final node (06) there’s a bit inventive problem-solving occurring. Throughout the day, foam on the water appears fairly white, and pulling the luminance out of the shot has deadened all of the tones and made it a bit flat, however within the moonlight it might in all probability be fairly much like shiny solar.
In node 06, you’ll be able to see a luma matte that’s focusing on the brightest stuff, after which a masks to maintain it restricted to the water space with out touching the seashore. The impact of that is that it pushes up the whiteness of the water to make it look as if the moon is reflecting off it.


You may see the white there actually lifts it in comparison with the way it was earlier than. How profitable day-to-night is will actually depend upon the kind of footage. It may be very difficult to make a sky look darkish when it isn’t.
You may see there’s quite a bit that may be executed with stylised color grading, whether or not that’s a delicate adjustment of colors and tones to push the ‘feeling’ in a selected route or one thing much more dramatic, like turning day to nighttime.
Extra Movie-Making Tutorials
In regards to the Authors
David Bode created the video course that features this lesson. Dave is an professional on video and audio manufacturing, and he lives within the upstate NY space. He works as a digital camera operator, editor, inventor, movement graphics designer, recording engineer, and studio musician.
Marie Gardiner wrote the textual content model of this lesson, and it was edited and revealed by Jackson Couse. Jackson is a photographer and the editor of the Photograph & Video part of Envato Tuts+.
