
Energetic Storage Overview
Energetic Storage is a ruby gem that facilitates importing recordsdata to a cloud storage service and attaching these recordsdata to Energetic File objects. Testing and improvement environments have an area disc service choice for storing recordsdata regionally. Energetic Storage makes use of naming conventions just like Energetic File , making it very intuitive and straightforward to combine into any Ruby on Rails software.
Last Consequence
Please be happy to go to my gitHub repository or my web site to see the the outcomes of this tutorial.
If you have already got Energetic File put in , navigate all the way down to the “Configuring Energetic Storage for S3” part.
How To Setup Energetic Storage
I extremely advocate planning out your software previous to putting in Energetic Storage. Map out your fashions, attributes, associations, and routing logic. I like to recommend utilizing an entity relationship diagram (ERD) to map out your mannequin/desk relationships dbdiagram. Construct out a frontend that may seize recordsdata so that you can take a look at and troubleshoot Energetic Storage.
1) Set up the Energetic Storage gem out of your terminal , or add the Energetic Storage gem to your Gemfile and run bundle set up
gem 'activestorage', '~> 7.0', '>= 7.0.4'
2) As an choice , set up Energetic Storage Validator so as to add validations to your Energetic Storage uploads
gem 'activestorage-validator', '~> 0.2.2'
3) Migrate the Energetic Storage auto generated tables to your database
rails db:migrate
4) Create and migrate the remainder of your Fashions , ideally utilizing a scaffold or useful resource generator. When utilizing mills , Energetic Storage attachments comply with the conference under. Use the attachments (plural) to setup a one-to-many relationship between data and recordsdata
rails g useful resource Person avatar:attachment photgraphs:attachments
At this level , your app_name/app/db/migrate folder ought to look just like this
4b) Alternatively, open your mannequin and outline the attachment instantly within the mannequin. Setup a one-to-many relationship between data and recordsdata utilizing the has_many_attached naming conference
class Person < ApplicationRecord
  has_one_attached :avatar
  has_many_attached :images
finish
Configuring Energetic Storage for S3
1) Add the AWS S3 Gem to your Gemfile and run bundle set up
gem "aws-sdk-s3", require: false
2) Set your Energetic Storage service in config/environments folder
- to make use of S3 service in your improvement and manufacturing setting , embody the next code in your config/environments/improvement.rb and config/environments/manufacturing.rb recordsdata.
# Retailer recordsdata on Amazon S3.
config.active_storage.service = :amazon
- if you would like to retailer recordsdata regionally in your improvement setting, copy/paste the next code in your config/environments/improvement.rb file.
config.active_storage.service = :native
3) Inside your config folder , create a storage.yml file if one doesn’t exist. 
- Contained in the config/storage.yml file , copy/paste the next code. We are going to enter a bucket and area in a later step
native:
  service: Disk
  root: <%= Rails.root.be part of("storage") %>

take a look at:
  service: Disk
  root: <%= Rails.root.be part of("tmp/storage") %>

amazon:
  service: S3
  access_key_id: <%= Rails.software.credentials.dig(:aws, :access_key_id) %>
  secret_access_key: <%= Rails.software.credentials.dig(:aws, :secret_access_key) %>
  bucket: "bucket_name_here"
  area: "your_region_here"
4) Login to your AWS account or create a free account.
5) Underneath the companies tab, navigate to the S3 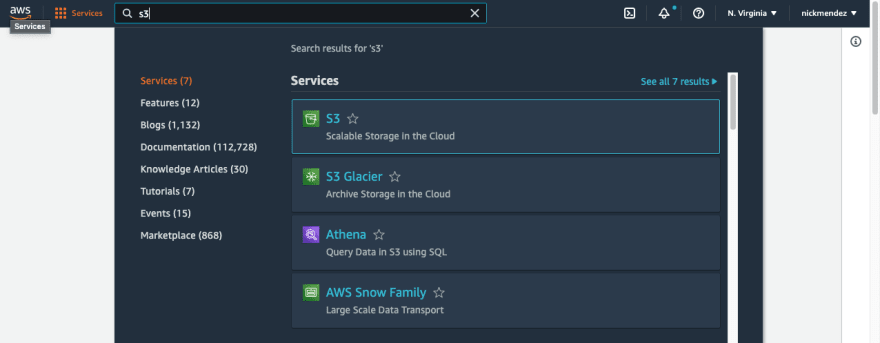
6) Create a New Bucket by clicking the orange Create Bucket button
7) Underneath Normal Configuration:
- use your software’s title because the bucket title.
- Choose the area which is closest to your location.
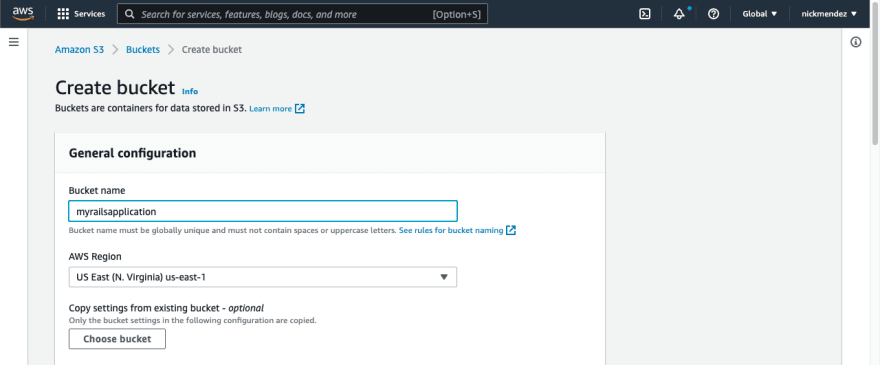
8) Go away default settings for the remainder of the bucket and click on the create bucket button on the underside of the web page.
9) Contained in the config/storage.yml file from step 3 , enter the bucket title and area from the bucket you created.

10) Navigate again to your AWS web site tab and choose IAM underneath the companies tab. Click on on Customers after which click on on the blue Add Customers button


11) Use your software’s title because the person title and choose programmatic entry.
- Choose Connect Current Insurance policies tab and seek for S3.
- Choose the Amazon S3 Full Entry coverage.


12) Navigate again to your IDE and open a terminal. cd into your root listing folder and run the next command.
- We might be including our AWS S3 person data into an encrypted file as a result of we don’t need to retailer delicate data in plain textual content.
EDITOR=VIM bundle exec rails credentials:edit
- Observe: If you happen to encounter an “Could not decrypt config/credentials.yml.enc. Maybe you handed the flawed key?” error , delete the config/credentials.yml.enc file and rerun the command.
13) Contained in the VIM editor , press the i key to edit the contents contained in the terminal window.
- copy/paste the key entry key and access_key_id from the S3 person you created.
- ensure that to uncomment
14) Press the escape key after which sort :qa to exit and save the file
At this level , every little thing is about up. If you happen to plan on deploying your mission , ensure that to commit and push to your Github Repo. After getting a URL on your stay software , configure CORS in your S3 bucket underneath the Permissions tab. Here’s a CORS configuration instance
[
    {
        "AllowedHeaders": [
            "*"
        ],
        "AllowedMethods": [
            "GET",
            "POST",
            "PUT"
        ],
        "AllowedOrigins": [
            "https://www.example.com"
        ],
        "ExposeHeaders": []
    }
]
Assets
