
Have you ever ever questioned methods to use a Cricut for making stickers? On this tutorial, you may be studying the step-by-step course of for creating the superbly minimize customized stickers that you have all the time dreamed of!
You’ll learn to prep, print, and minimize particular person stickers utilizing a Cricut machine and Cricut Design Area, with loads of suggestions and methods alongside the way in which to make sure the proper minimize every time.
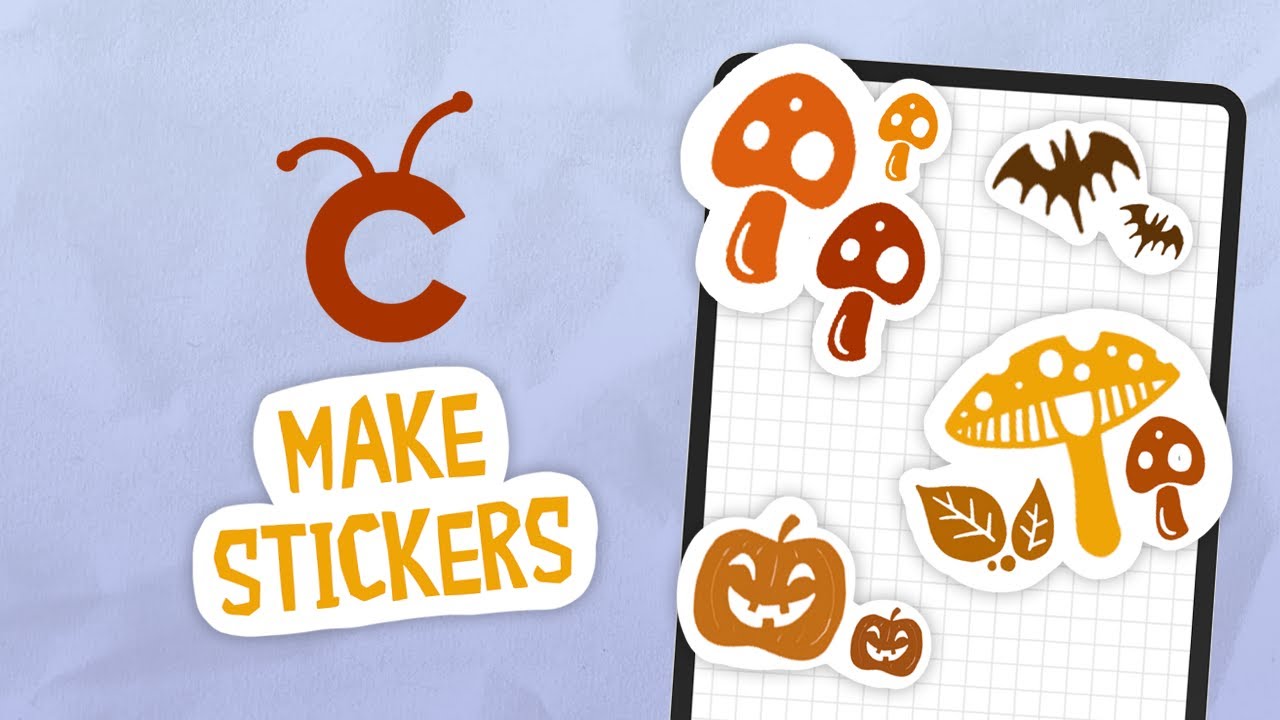
Searching for the proper pre-made graphics pack to make stickers with? Then take a look at the superb Procreate iPad planner stamp brush set from Envato Parts!


Excited about video tutorials? Do not miss out on the superb content material from the Envato Tuts+ YouTube channel! You will discover superb sources, like this new video I did on methods to make stickers on Cricut and Procreate:
What You will Be taught in This Tutorial on Making Stickers With Cricut
- How one can prep the stickers for Print Then Minimize
- How one can arrange for Print Then Minimize
- How one can minimize stickers utilizing a Cricut
1. How one can Prep Stickers for Print Then Minimize
Step 1
On this Cricut stickers tutorial, I am utilizing an iPad Professional, an Apple Pencil, the Procreate 5.2 app, an HP Envy Professional 6400 collection printer, Evergreen Items shiny sticker paper, and a Cricut Maker.
First, you will have so as to add your chosen design(s) to a doc sized the identical because the paper you may be printing on later. My printer prints in A4 dimension, so that is the dimensions doc I created. I shall be utilizing Procreate to arrange my sticker sheet, however you should utilize any design software program of your selection.


Step 2
As soon as your sticker designs are added to your doc, you will have to house them out to make sure there shall be no overlap between cuts. To be on the protected aspect, I like so as to add a minimal of a 1 cm hole between stickers. This may even make them simpler to take away from the paper in a while.


Step 3
Relying in your designs, chances are you’ll want so as to add a background/border form behind your stickers. The Cricut machine will minimize out any empty areas inside your design, which can go away holes within the centre of your stickers except crammed. Complicated form borders with skinny or small components could also be tough to take away from the sticker sheet with out breakage. An instance of that is proven within the picture under.


If the design has a stable fill and a easy border (e.g. a circle or a sq.), you’ll be able to go away it as is. If not, you will have so as to add a stable form behind your design for the Cricut to chop round. I created my border utilizing the Monoline brush set to a white shade, and I turned off the Background color layer within the Layers menu to allow me to see the outlines.


Step 4
Subsequent, you will have to export the file utilizing a file kind that can maintain the background clear—I like to recommend utilizing a PNG file format for this. On Procreate, this may be discovered below the Share part of the Actions menu.


2. How one can Set Up for Print Then Minimize
Step 1
Launch Cricut Design Area and choose the inexperienced New Venture button within the left nook of the display.


Step 2
Add the PNG picture of your sticker sheet by deciding on Add within the backside left nook of the display and deciding on the related choice primarily based on the situation of your file.


Step 3
You’ll now be taken to the Clear Up display, which incorporates varied instruments that can be utilized to make edits to the preview of your picture. Right here you’ll be able to see precisely what’s going to minimize out, and spot any rogue shapes or errors.
Press the inexperienced Subsequent button within the high proper nook of the display as soon as you might be proud of the picture preview.


Step 4
The Refine display exhibits black outlines of your shapes, which shall be utilized by the Cricut as minimize paths. You may zoom into these to examine for any white house inside the shapes, as this may have to be eliminated to keep away from small cuts in the course of your stickers.
As soon as you might be proud of this preview, press the inexperienced Subsequent button within the high proper nook.


Step 5
Subsequent, you may be given the selection between deciding on Minimize and Print Then Minimize. The Minimize choice is greatest for non-printed initiatives that merely require cut-out shapes. In case you are chopping out printed photos such because the stickers on this tutorial, you’ll all the time wish to select Print Then Minimize. This technique scans the design to make sure an correct minimize.
Choose the Print Then Minimize choice, after which press the inexperienced Save button within the high proper nook. This may save your design to your Design Area picture library.


Step 6
You’ll now be returned to the Canvas. So as to add your file, press Add within the backside left nook after which choose the Open Uploaded Pictures choice.


This may open up a library of all the photos you’ve got uploaded to Cricut Design Area. Discover your file, after which faucet to pick out it. As soon as you’ve got chosen it, press the inexperienced Insert tick button within the backside proper nook of the menu.


The sticker sheet will now seem in your canvas.


Step 7
Should you see a yellow warning image subsequent to the Layers panel, faucet on the Layers panel button on the backside of the display to open up the Layers panel and examine the error. To view the error message, click on on the warning image (circled in crimson).


On this case, the picture was too massive for the maker, so it have to be contracted. The Cricut is ready up in US Letter dimension, so this may be a difficulty in case you are utilizing worldwide paper sizes reminiscent of A4.


To repair the error, you merely must downsize the picture inside the really useful dimensions. To do that, choose the arrow button on the button left nook of the picture, and drag to resize.
As soon as your picture is resized and the warning image has disappeared, click on the inexperienced Make It button within the high proper nook.


Step 8
You’ll now be taken to a preview of your sticker sheet on high of the chopping mat. First, activate the Bleed swap (circled in crimson). This creates a small bleed round all your shapes and helps to make sure a clear minimize in case the machine will get the minimize barely off.
Subsequent, press the Print button within the backside proper nook.


Step 9
As soon as the Print Choices menu has opened, choose your printer and make sure the Black & White and Double-sided settings are switched off and the Paper Measurement and Orientation settings are right.
Then, choose the Media & High quality button.


Right here you’ll be able to choose your paper kind relying on the sticker paper you have got chosen.
My sticker paper is shiny, so I’ve chosen Photograph Shiny Paper. Drag the standard slider to Finest for the very best high quality print.
As soon as you might be proud of these settings, press Print within the high proper nook of the menu to print out your sticker sheet.


Step 10
Earlier than chopping out your printed sticker sheet, it is all the time a good suggestion to calibrate the Cricut for Print Then Minimize to make sure essentially the most correct minimize.
Start by loading up your Cricut machine and inserting the chopping mat.


Step 11
To start the calibration course of, head again to the principle menu of the Cricut Design Area app and open the menu (circled in crimson) within the high left nook.


Choose the Print Then Minimize Calibration choice from the menu.


Step 12
You’ll now be prompted to print out a calibration sheet. To do that, press the Print button on the backside of the menu (circled in crimson).
I like to recommend printing out a number of copies of this sheet as a result of the method often must be repeated a couple of occasions.


Step 13
As soon as you’ve got printed your sheet, you’ll obtain the under directions to be sure that the Positive Level Blade is inserted into your machine and cargo the sheet onto your mat.


When putting your calibration sheet onto the mat, line up the perimeters of the paper with the perimeters of the white grid on the chopping mat.


Step 14
As soon as your sheet is in place, you’ll be able to press the flashing Go button. The machine will start by chopping out the central sq..


You’ll then be prompted to examine if the sting of the minimize line is inside the black printed sq. line all the way in which round.
If the minimize line is outdoors the black line at any level, reply the query with No.


Right here is an instance of a minimize line that’s outdoors of the black sq. on the underside edge.


Step 15
Subsequent, the machine will minimize out the lettered and numbered strains across the edges of the sheet.


You’ll then be prompted to decide on which letter and quantity have minimize strains that are closest to hitting the centre of the black strains. To enter your outcomes, faucet on the High and Proper buttons circled under and choose the related letter and quantity.
If No was answered to the query in step 14, you may be requested to repeat the calibration course of from the start. If Sure was answered, your machine will progress to the ultimate step.


Under is an instance of the minimize strains, on this case Q was the road with essentially the most central minimize.


Step 16
If Sure was answered to the query relating to the primary sq. in step 14, the Cricut will end the calibration course of by chopping out the bigger rectangle. If the minimize line stays inside the black line the calibration is now full. If not, you’ll be able to repeat the method.


3. How one can Minimize Stickers Utilizing a Cricut
Step 1
To start the method of chopping the stickers, first return to the mission canvas, after which choose the inexperienced Make It button within the high proper nook.


Step 2
Press the inexperienced Subsequent button within the high proper nook till you attain this display. Right here you’ll be able to choose the fabric you may be chopping by tapping on All Supplies (circled in crimson).


I chosen Photograph Paper as a result of this greatest matches the shiny sticker paper I had chosen. You could discover an choice for Printable Sticker Paper, however on this setting the Cricut will solely minimize via the highest layer of paper, so that is solely appropriate for creating sheets of stickers slightly than particular person stickers.


Step 3
As soon as the sticker sheet is loaded onto the mat, you may be prompted to press the flashing Go button.


The machine will now minimize across the particular person stickers.


Step 4
As soon as the minimize is full, unload your chopping mat and punctiliously peel away the surplus paper.


Step 5
Now you can take away the stickers individually. I like to make use of a craft knife which I fastidiously slide beneath the perimeters of the stickers to help with this course of.


Now We’re Completed!
The DIY stickers for Cricut at the moment are full! See the instance under for a way I put my stickers to make use of in a bullet journal unfold.
Now you understand how to make stickers on Cricut. Thanks for following this tutorial with me, and I hope you have got numerous enjoyable making stickers along with your Cricut machine!


5 High Units of Sticker Designs for Cricut From Envato Parts
Now you recognize methods to make stickers with Cricut. Should you use a Cricut usually, Envato Parts is the proper place to supply an enormous library of ready-to-cut designs from. The subscription-based market provides you limitless Procreate brush units, add-ons for Photoshop and Illustrator, premium fonts, and extra! The whole lot is included in a single subscription for a flat month-to-month price.
If you would like to discover extra premium sticker designs for Cricut and sticker graphics, right here I’ve chosen 5 high choices that are excellent for making stickers with a Cricut:
1. Procreate iPad Planner Stamp Brush
This set of planner stickers is ideal for creating your individual DIY stickers for Cricut. Containing greater than 60 Procreate stamps and brushes, that is the proper set for journalling, planners, bullet journals, and extra.
2. Cute Valentine’s Day Stickers


Add some sweetness to your crafts with this lovely Valentine’s Day themed sticker set. Containing over 20 sticker designs, that is the proper set for creating stickers made with Cricut.
3. Cute Planner Doodle


Should you want stickers for a diary or planner, do this cute set of whimsical designs. They’d be excellent for scrapbooking or for planning out your New Yr’s resolutions!
4. Nature Sticker Badge Illustration Design


Faucet into your sense of journey with these superbly illustrated vector sticker designs. Containing eight completely different designs, that is the best set for creating outdoor-themed Cricut stickers.
5. Kawaii Doodle Sticker Set


This minimize kawaii-themed sticker set is the proper addition to your DIY Cricut sticker assortment. This set of 9 sticker designs is ideal for including a splash of enjoyable to water bottles, notebooks, journals, and extra!
Uncover Extra Superb Cricut Tutorials and Sources
A Cricut for making stickers generally is a actually enjoyable mission. Should you favored this tutorial on making stickers with Cricut, be sure that to go to these different superb Cricut tutorials and sources from Envato Tuts+:
