Blender 3.2 was simply launched and amongst different options the power to color vertex instantly in sculpt mode was simply added. On this tutorial we’re going to present find out how to use the brand new portray instruments, find out how to configure EEVEE and Cycles to indicate the outcomes then lastly find out how to render vertex paint to texture for export to different instruments or recreation engines. Let’s get began. There may be an in-depth, step-by-step video model of this tutorial out there right here.
Sculpt Vertex Paint in Blender 3.2
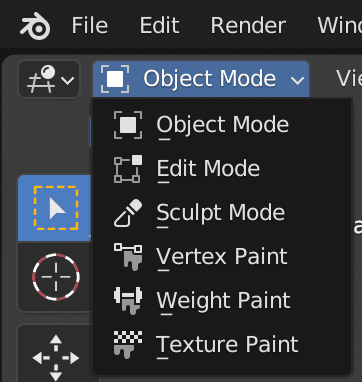
To get began with vertex portray in Blender, you will want an object with a enough variety of vertices to color on. The much less vertices, the much less element you’ll be able to paint, so plan accordingly. Ensure the article you wish to paint is chosen, then change to Sculpt Mode:
In Sculpt mode, the brand new paint instruments are situated within the toolbar:
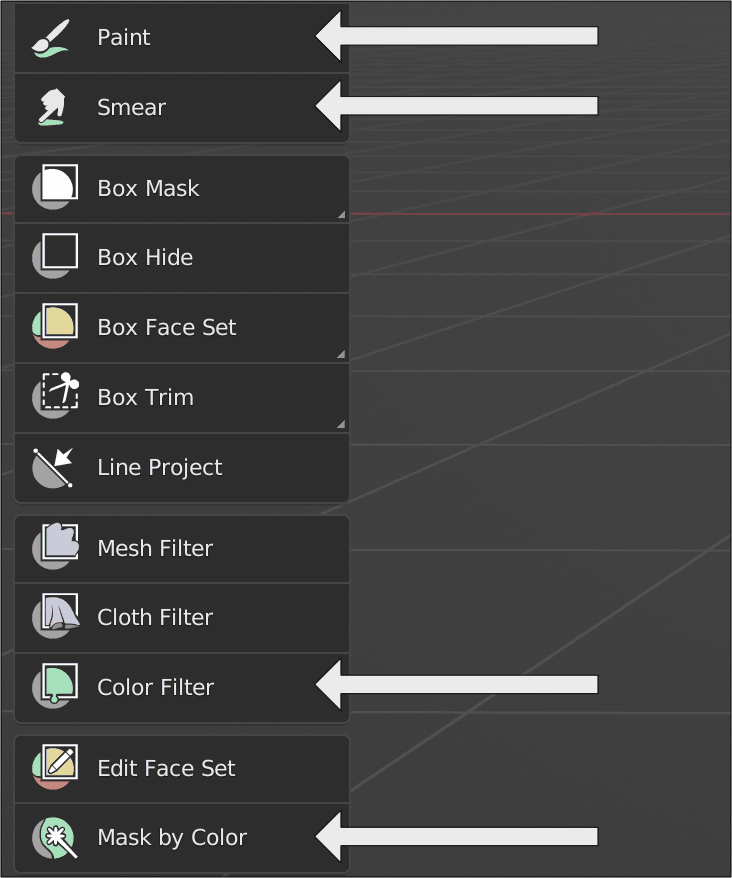
Choose the Paint choice, then within the Instruments menu (N hotkey), you’ll find a wide range of paint settings, comparable to the brand new Wetness and Brush tip controls.
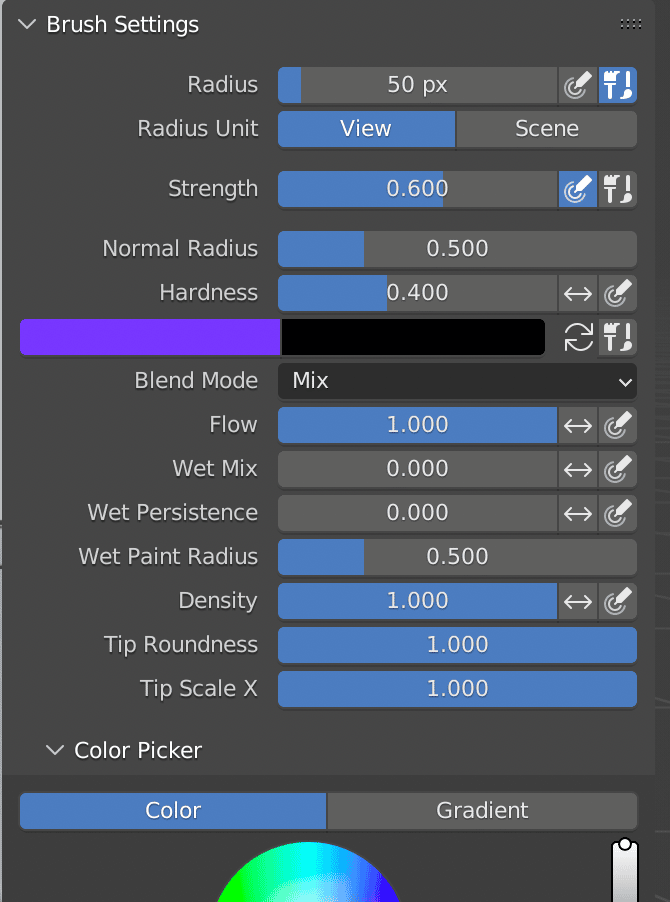
The following step is fairly straight ahead… set the comb settings you want, choose a color and paint in your object.
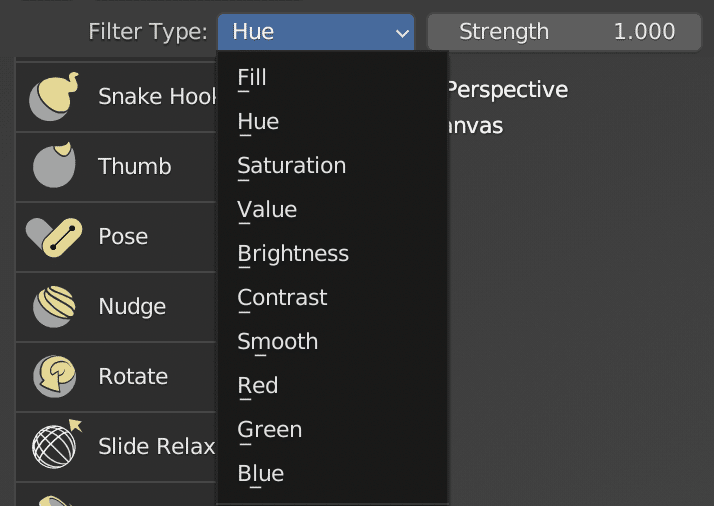
The Shade Filter device is a means of constructing adjustment to your complete picture, minus no matter you at present have masked out. Choose Shade Filter, then you’ll be able to choose choices comparable to Hue or Brightness, then transfer the mouse left or proper to extend/lower.
Rendering Vertex Shade in EEVEE/Cycles
Now that you simply’ve painted your masterpiece, chances are you’ll discover for those who change to textured or rendered mode, your masterpiece is gone! No worries, it’s easy sufficient to repair.
First choose your object and add a cloth to it.
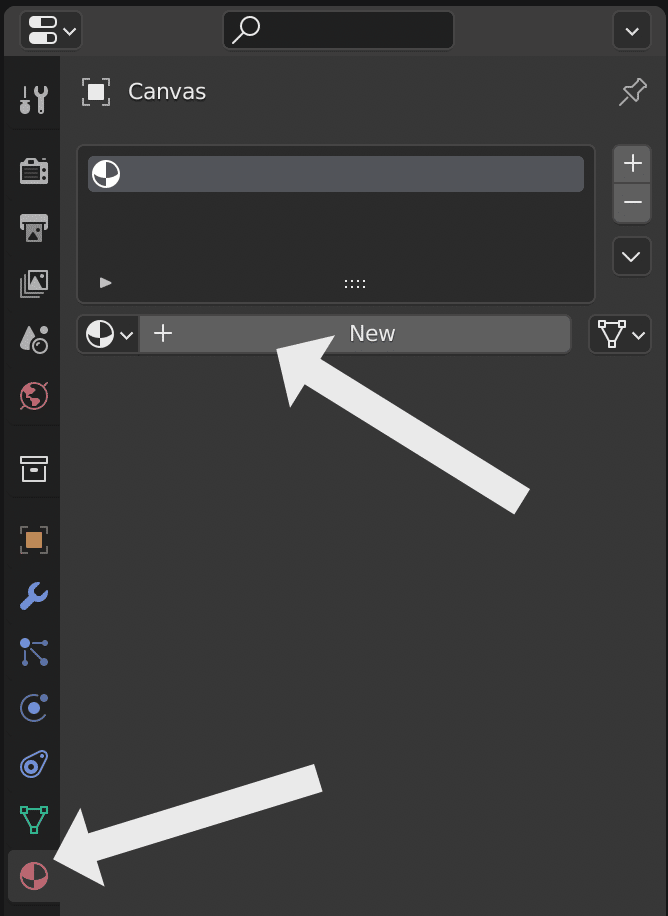
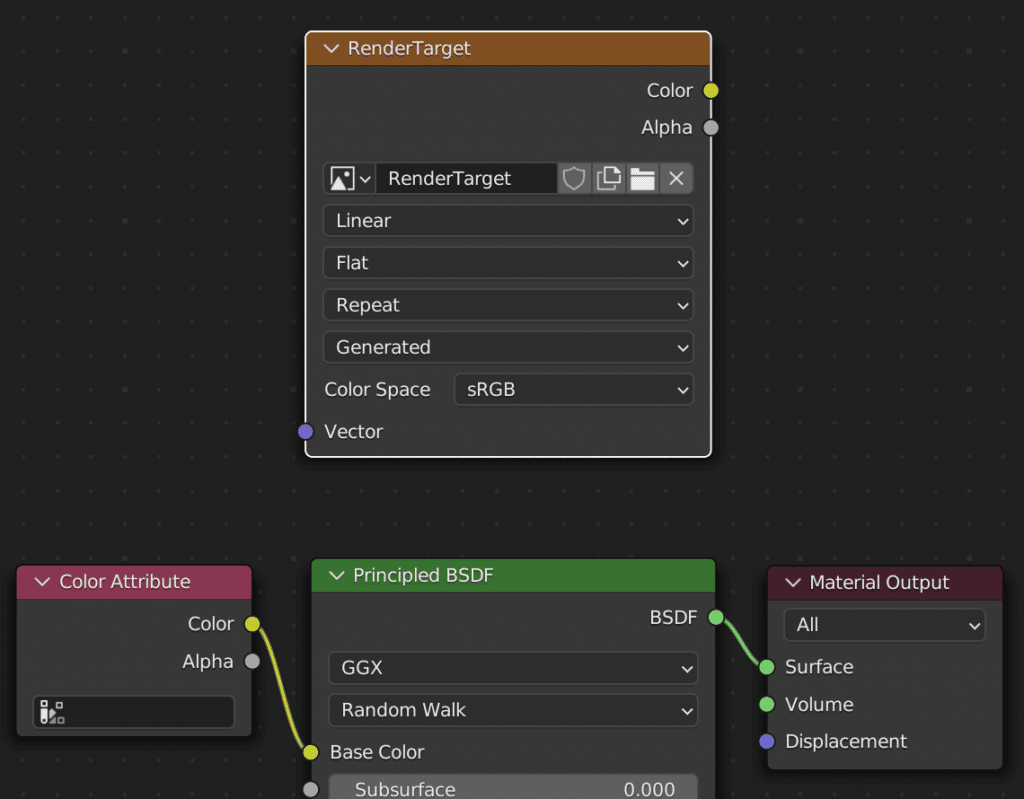
Now open up a Shader Editor window and set your materials accordingly:
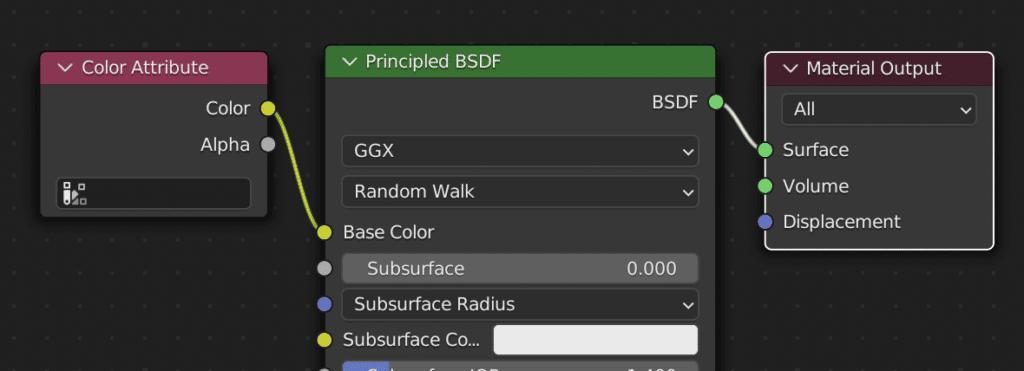
The Shade Attribute is offered within the Inputs class. As soon as connected, your outcomes ought to now present up in textured and rendered modes.
Rendering Vertex Shade To Texture
This subsequent step is solely non-obligatory, however in case you are working with a recreation engine or one other DCC device that doesn’t help vertex coloration data, it’s doable chances are you’ll wish to render to texture.
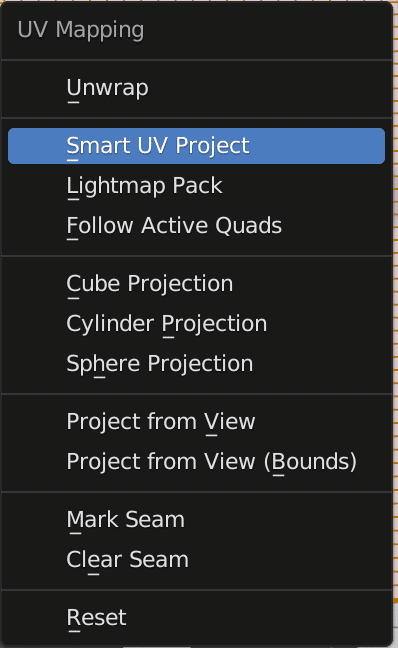
The very first thing we have to do is apply a UVMap to our object. Choose your painted object, change to edit mode, choose all of the vertices (A key twice). Now hit the U Key, then choose the Good UV Venture. The element choices are okay.
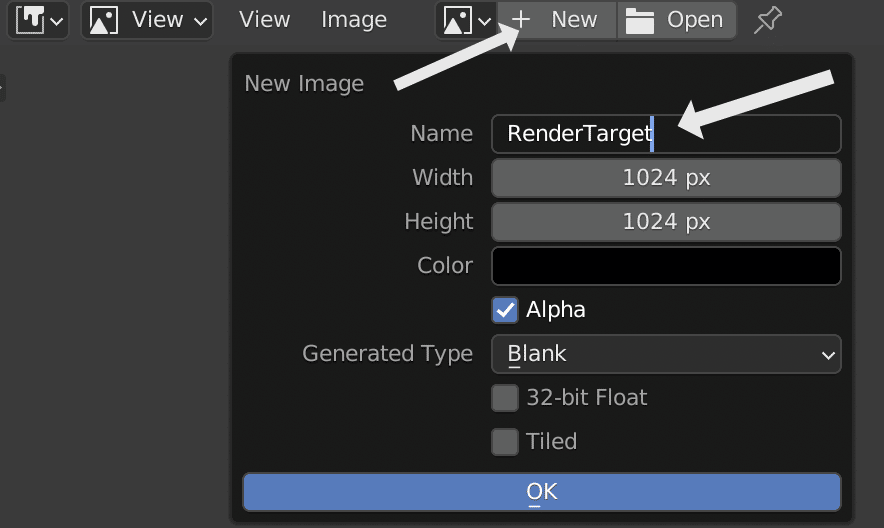
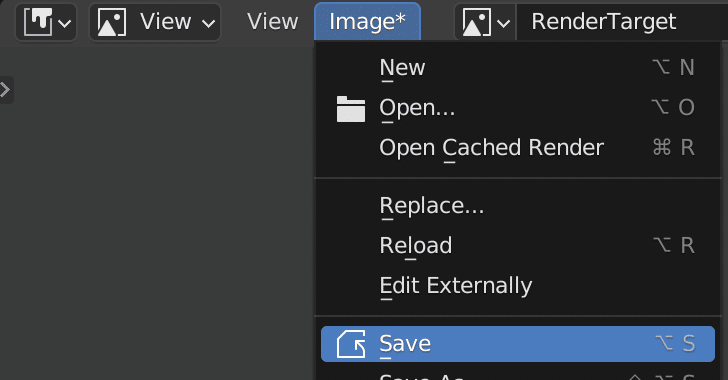
Subsequent we want a texture goal to render to. Open up the Picture Editor, create a brand new Picture, decide a decision and identify it:
Now we wish to change dangerous to the Shader Editor, with our object chosen and add a picture to our shader community. There isn’t a want to attach the picture to something, simply add Texture-> an Picture Texture node and set it’s goal to our newly created picture.
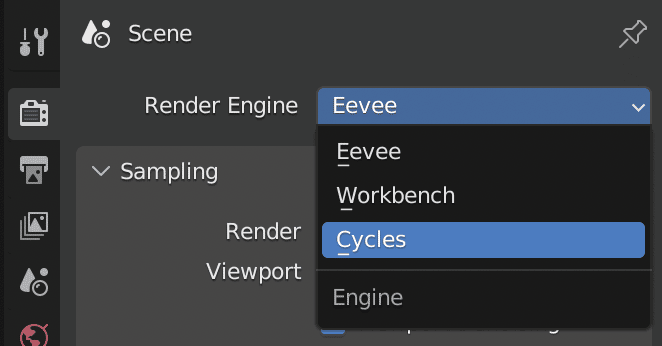
Now it’s lastly time to render our vertex knowledge to texture. Change to the render tab, then Cycles mode:
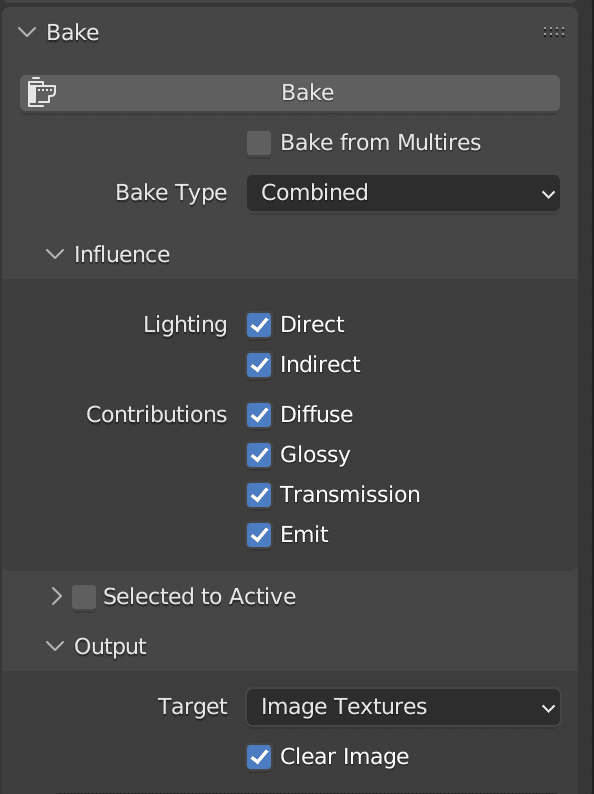
Now scroll down and find the Bake part. Ensure Goal is about to Picture Texture, choose the belongings you want to bake, then click on the Bake button.
A progress bar will seem whereas rendering. As soon as full, it’s best to have the ability to change over to the Picture Editor and see the newly rendered texture. Don’t neglect to avoid wasting your newly generated texture to a picture file in your file system.
And voila! You’re completed!
You possibly can see your complete course of, step-by-step, of Blender 3.2 Sculpting portray to vertex, configuring the EEVEE and Cycles renderer to indicate your paint and eventually, rendering the outcomes to texture within the video beneath.
